• Skip to primary navigation
  • Skip to main content
  • Skip to primary sidebar

Yellow Bricks

by Duncan Epping

  • Home
  • ESXTOP
  • Stickers/Shirts
  • Privacy Policy
  • About
  • Show Search
Hide Search

rvc

Changing the vSAN Skyline Health Interval

Duncan Epping · Feb 8, 2022 · Leave a Comment

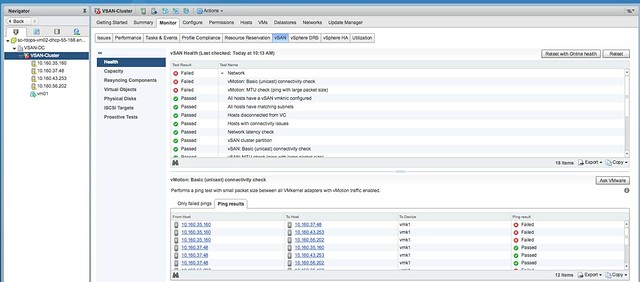
On the VMTN forum Lars asked a great question, how do you change the vSAN Skyline Health interval. This used to be an option in the UI pre vSphere 7.0 but now seems to have disappeared. I never really touched it, so I had completely forgotten it was even an option at first. As vSAN also has an extensive CLI through “RVC”, and I used RVC before to disable a particular health check I figured this may also be a configurable setting, and indeed it is. It is rather straightforward:

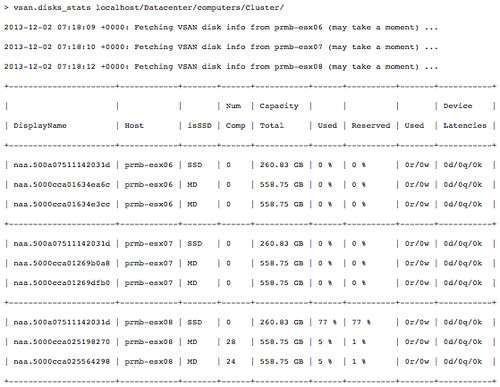
SSH to your vCenter Server instance and open RVC. I use the following command to open an RVC session:

rvc [email protected]@localhost

I then “cd” into my vSAN cluster object. Simply do an “ls” after you “cd” into a directory. My complete tree looks like this:

/localhost/Datacenter/computers/Cluster

When you are at the cluster level simply check the current configured interval:

vsan.health.health_check_interval_status .

Next you can configure the new internal, default setting is 60 minutes, but you can change it anywhere between 15 minutes and 1 day, I am configuring it to 15 minnutes:

vsan.health.health_check_interval_configure -i 15 .

vSAN Health Check fails on vMotion check

Duncan Epping · Apr 21, 2017 ·

On Slack someone asked why the vMotion check for vSAN 6.6 Health Check was failing constantly. It was easy to reproduce when using the vMotion IP Stack on your vMotion VMkernel interface. I went ahead and tested it in my lab, and indeed this was the case. I looked around and then noticed the following in the vSAN 6.6 release notes:

vMotion network connectivity test incorrectly reports ping failures
The vMotion network connectivity test (Cluster > Monitor > vSAN > Health > Network) reports ping failures if the vMotion stack is used for vMotion. The vMotion network connectivity (ping) check only supports vmknics that use the default network stack. The check fails for vmknics using the vMotion network stack. These reports do not indicate a connectivity problem.

Workaround: Configure the vmknic to use the default network stack. You can disable the vMotion ping check using RVC commands. For example: vsan.health.silent_health_check_configure -a vmotionpingsmall

I guess that clarifies things, so I figured I would test it. Here’s what it looked like before I disabled the checks:

I used RVC to disable the checks, let me show two methods:

vsan.health.silent_health_check_configure -a vmotionpingsmall /localhost/VSAN-DC/computers/VSAN-Cluster

Note that you will need to replace the “VSAN-DC/..” with your cluster and datacenter name. This disables the vMotion ping test. The other is running this command in interactive mode, that will allow you to simply enter the number of the specific test that needs to be disabled. It will list all tests for you first though.

vsan.health.silent_health_check_configure -i /localhost/VSAN-DC/computers/VSAN-Cluster

The vMotion tests are somewhere half down:

44: vMotion: Basic (unicast) connectivity check
45: vMotion: MTU check (ping with large packet size)

And of course this doesn’t only apply to the vMotion tests, with vSAN 6.6 (vCenter 6.5.0d) you can also disable any of the other tests. Just use the “interactive” mode and disable what you want / need to disable.

<UPDATE>

Note that you can now also disable health checks in the UI as shown in the GIF below. Click it to watch it!

Removing a disk group from a VSAN host

Duncan Epping · Dec 4, 2013 ·

I had been playing around with my VSAN cluster for a bit the last couple of weeks and it literally has become messy. I created many VMs and many snapshots and removed many of those again, all of this while pulling cables of servers and pulling disks. Basically stress testing VSAN while injecting faults to see how it responds. It was time to clean up and upgrade to a later build as the beta refresh was just released. After deleting a bunch of VMs I noticed that not everything was removed, I had also uploaded ISOs and some other random stuff which I probably should not have. Anyway, I needed to clean one of my hosts up.

I figured I would use RVC for the exercise just to get a bit more familiar with it. First I wanted to check what the current state was of my cluster, I used the “vsan.disks_stats” command:

Then I figured I would want to just simply remove the disk group for Server “prmb-esx08” using “vsan.host_wipe_vsan_disks”:

Note that you can also do this using the UI:

  • Go to your cluster
  • Click “Manage” and “Virtual SAN” -> “Disk Management”
  • Select the “Disk Group” and click the “Remove the Disk Group” icon

Primary Sidebar

About the author

Duncan Epping is a Chief Technologist in the Office of CTO of the Cloud Platform BU at VMware. He is a VCDX (# 007), the author of the "vSAN Deep Dive" and the “vSphere Clustering Technical Deep Dive” series, and he is the host of the "In de aap gelogeerd" (Dutch) and "unexplored territory" (English) podcasts.

Upcoming Events

09-06-2022 – VMUG Belgium
16-06-2022 – VMUG Sweden

Recommended Reads

Sponsors

Want to support Yellow-Bricks? Buy an advert!

Advertisements

Copyright Yellow-Bricks.com © 2022 · Log in